

Hey y’all!! I’ve had some requests to show the reversible swim hack and the admin ladies thought it would be super fun to make a blog about it- I mean who doesn’t love reversible am I
right? Especially when it comes to swim! It definitely comes in handy …

You get my drift- two are better than one ?
When I saw the new Tigerlily, I immediately knew that I needed to make it swim- and then of course, reverse it!
So, hopefully, these instructions are clear and y’all can start sewing away!
The first thing I did was size down. Swim should be tight so it doesn’t ride up in the water, especially
reversible swim with no elastic!!
So, my model Lydia – is 7 but skinny and wears a size 5 width and 6 length. This is a size 4 with an inch added for length.


After I cut them all out I measured Lydia’s rib cage and got 21”. I graded the bottom down to 20”
because I wanted it tight and noticed the pattern is a little loose around the rib cage for swim (but
perfect for dresses!)
Now that the pieces are ready to rock and roll let’s sew them up!!
I start by sewing and turning the straps (ugh, I know, turning straps is the worst. But at least swim is really stretchy!)


Add the straps to the back bodice with the triangles on the pattern as placement guides and serge the backs together with straps in between

Turn right sides out and criss-cross those gorgeous straps! Baste in place.


Sew up the front bodices right sides together at neckline and side seams.
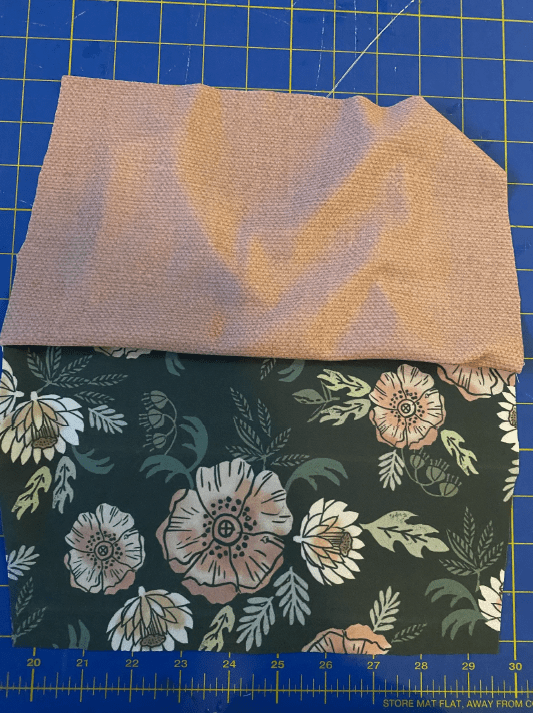
Open it up wide so that you can see the two different fabrics.
Here you will lay down your back bodice right side of the back bodice to the right side of the front bodice.
Thread the straps through to the shoulder seams and sew them down.

Now is where it gets different. You need two complete sides, front and back, in order to reverse it.
You’re going to open the back bodice and line up the side seams.
My bodices are – pink back with pink front and black back with black front.
Pin them down because they will slide!
The back has a little “V” to it. With a sewing machine, you can navigate this but I used a serger and ended up sewing one side (front pieces) and then the other (back pieces) so that both sides are now shut.
If you turn this right side out right now, it would be a perfect swim top with the bottom hem still unsewn.

Now is the tricky part.
It isn’t as hard as it seems, but it can be a little awkward.
Take the bottom middle of one front piece (my pink front) and bring it up to touch the front middle of the other front piece (my black front).

Pin the front centers together. The entire top will be awkwardly sandwiched in the middle but ignore that and keep pinning.

Follow the waist around in a circle pinning as you go.
For visualization, this is the bottom hem of the suit you are sewing up and it will end up being a complete circle.


You will have opposite colors together (mine are pink and black) all the way around.
Pin until you get to about 1″ (2.5cm) from where you began. You will have to keep pulling it out from the tucked into space as you go.

Begin sewing where you pinned. Keep turning it and maneuvering pulling out fabric to find your circle to sew.
Leave 1″ (2.5cm) to turn inside out.


Shove a little fabric through the opening and start turning right side out!
The smaller the hole you leave, the harder to turn, but the less to topstitch later!
Pick your poison ?

Once you have the bodice turned right side out, find the 1″ (2.5cm) opening that you left for turning and topstitch it shut.


Here is a pic of the finished product on miss Lydia


