

Hey!
Today I’m going to show you how to hack the Lokelani romper into a sweet summer tie strap cami!
Let’s get started…

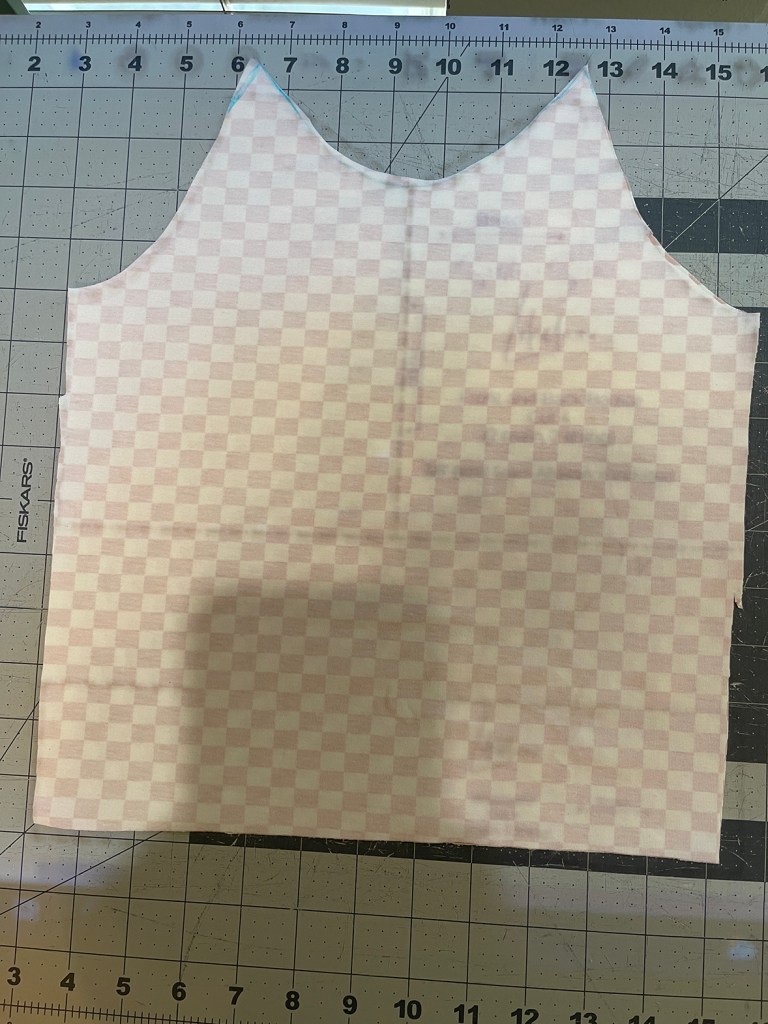
First you’ll grab your Lokelani bodice. I sized down one size for a more fitted looking cami. Using my projector I lay my fabric down and brought the top of the shoulder seams to a point. I like to use a washable marker for this, you can freehand too!

Next, you’ll cut the pattern and extend the bodice down to your preferred length. I found that cutting just below the waistband on the projector piece (for size 6/7) was just about the length that I needed, so I extended the bodice down to the bottom of the waistband for a straight cut line to follow. You can also measure for length.

Next, you’ll add binding or a band across the front and back bodice. I don’t pull at all when attaching. You can use your preferred method to attach (single/double-fold binding or bands)

Lastly, you will sew the front and back together at the side seams and then you’ll add binding to the arms. I like to take two long strips, fold them in half and put a dot in the center to ensure the tie straps are the same length. I always make them extra long and then cut the excess!

Starting at the top of the binding I’ll feed it through the binding attachment and begin binding until it gets close to the dot where I marked halfway, then I’ll add the bodice through with it and finish off the other side of the strap. I usually just eye this part, which is another reason that I use a really long binding strip. Note: If you’re binding by hand or using bands and clipping, you can just attach the middle mark to the underarm seam and start clipping/pinning as you go up.

That’s it!


You can finish with a band, regular hem, or lettuce hem!


